Folding help
What one set of folds actually is
Step by step
Wet one hand lightly so the dough does not cling and tear.
Slide your fingers under one side of the dough, lift until it stretches, then fold it over the center.
Rotate the bowl a quarter turn and repeat on each side until you have folded all four sides in.
Stop when the dough feels tighter and smoother. If it tears badly, let it rest and try again later.
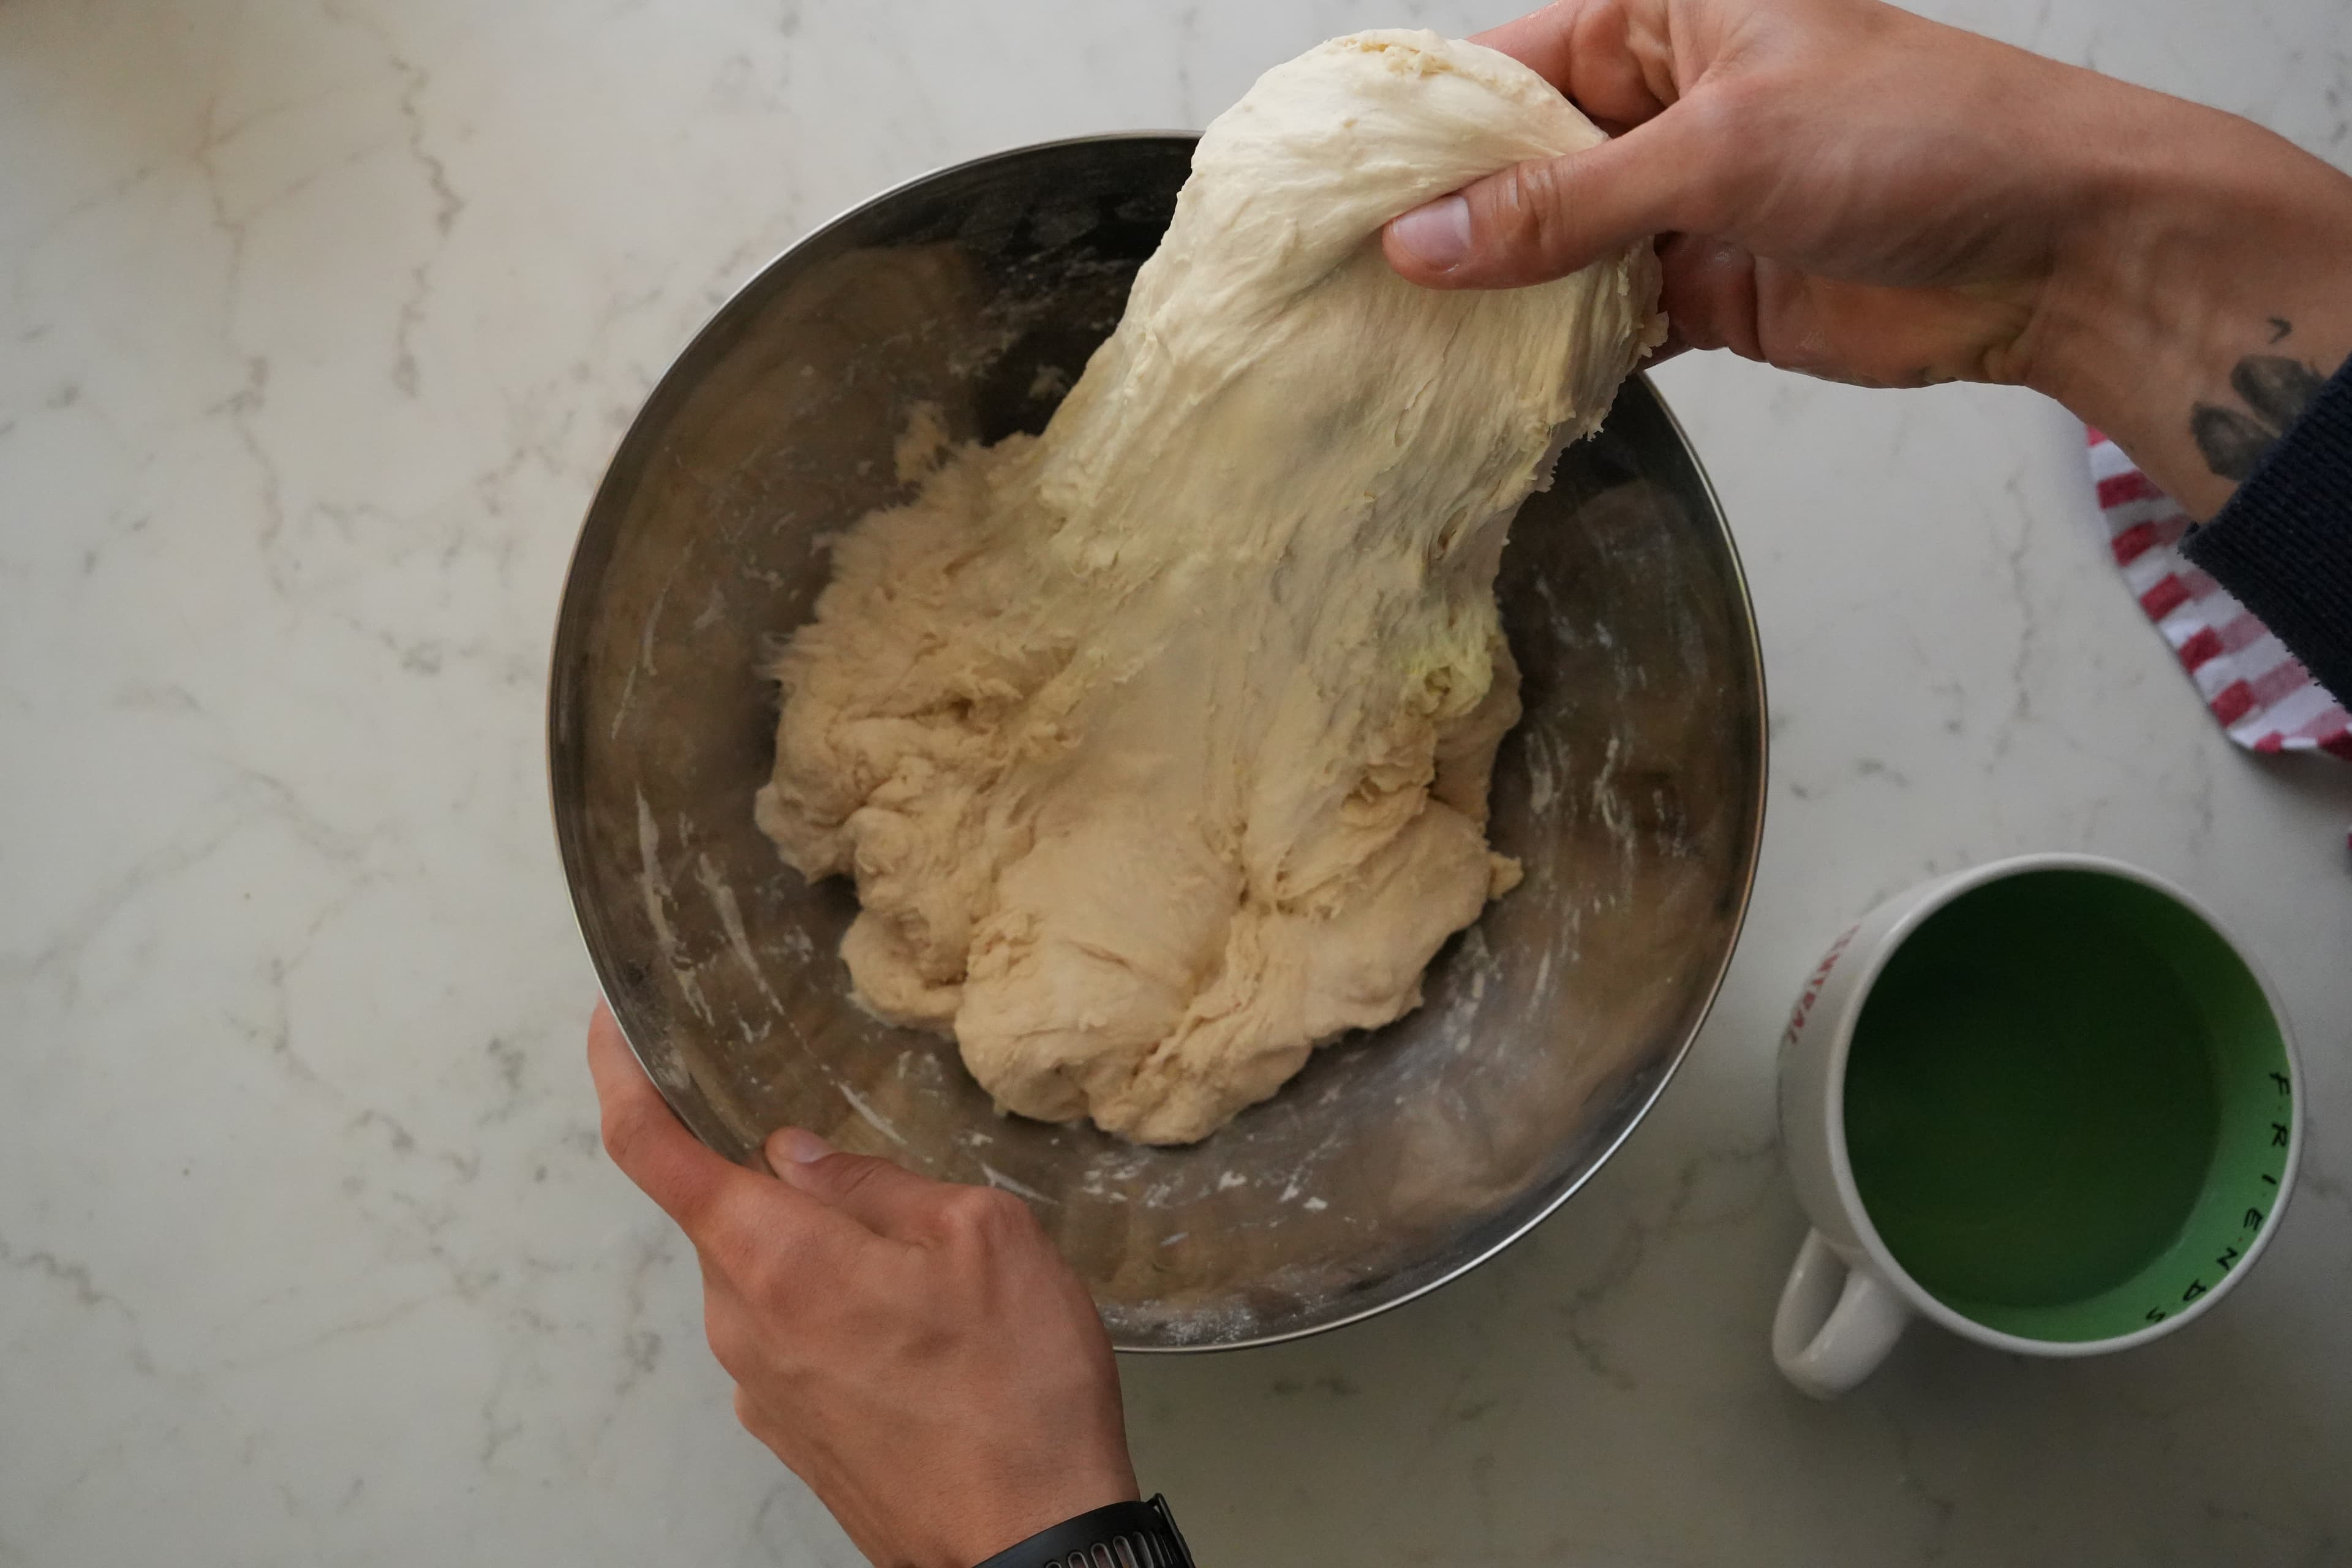
Hand position
Slide your fingers under the dough, lift gently, and fold toward the center.
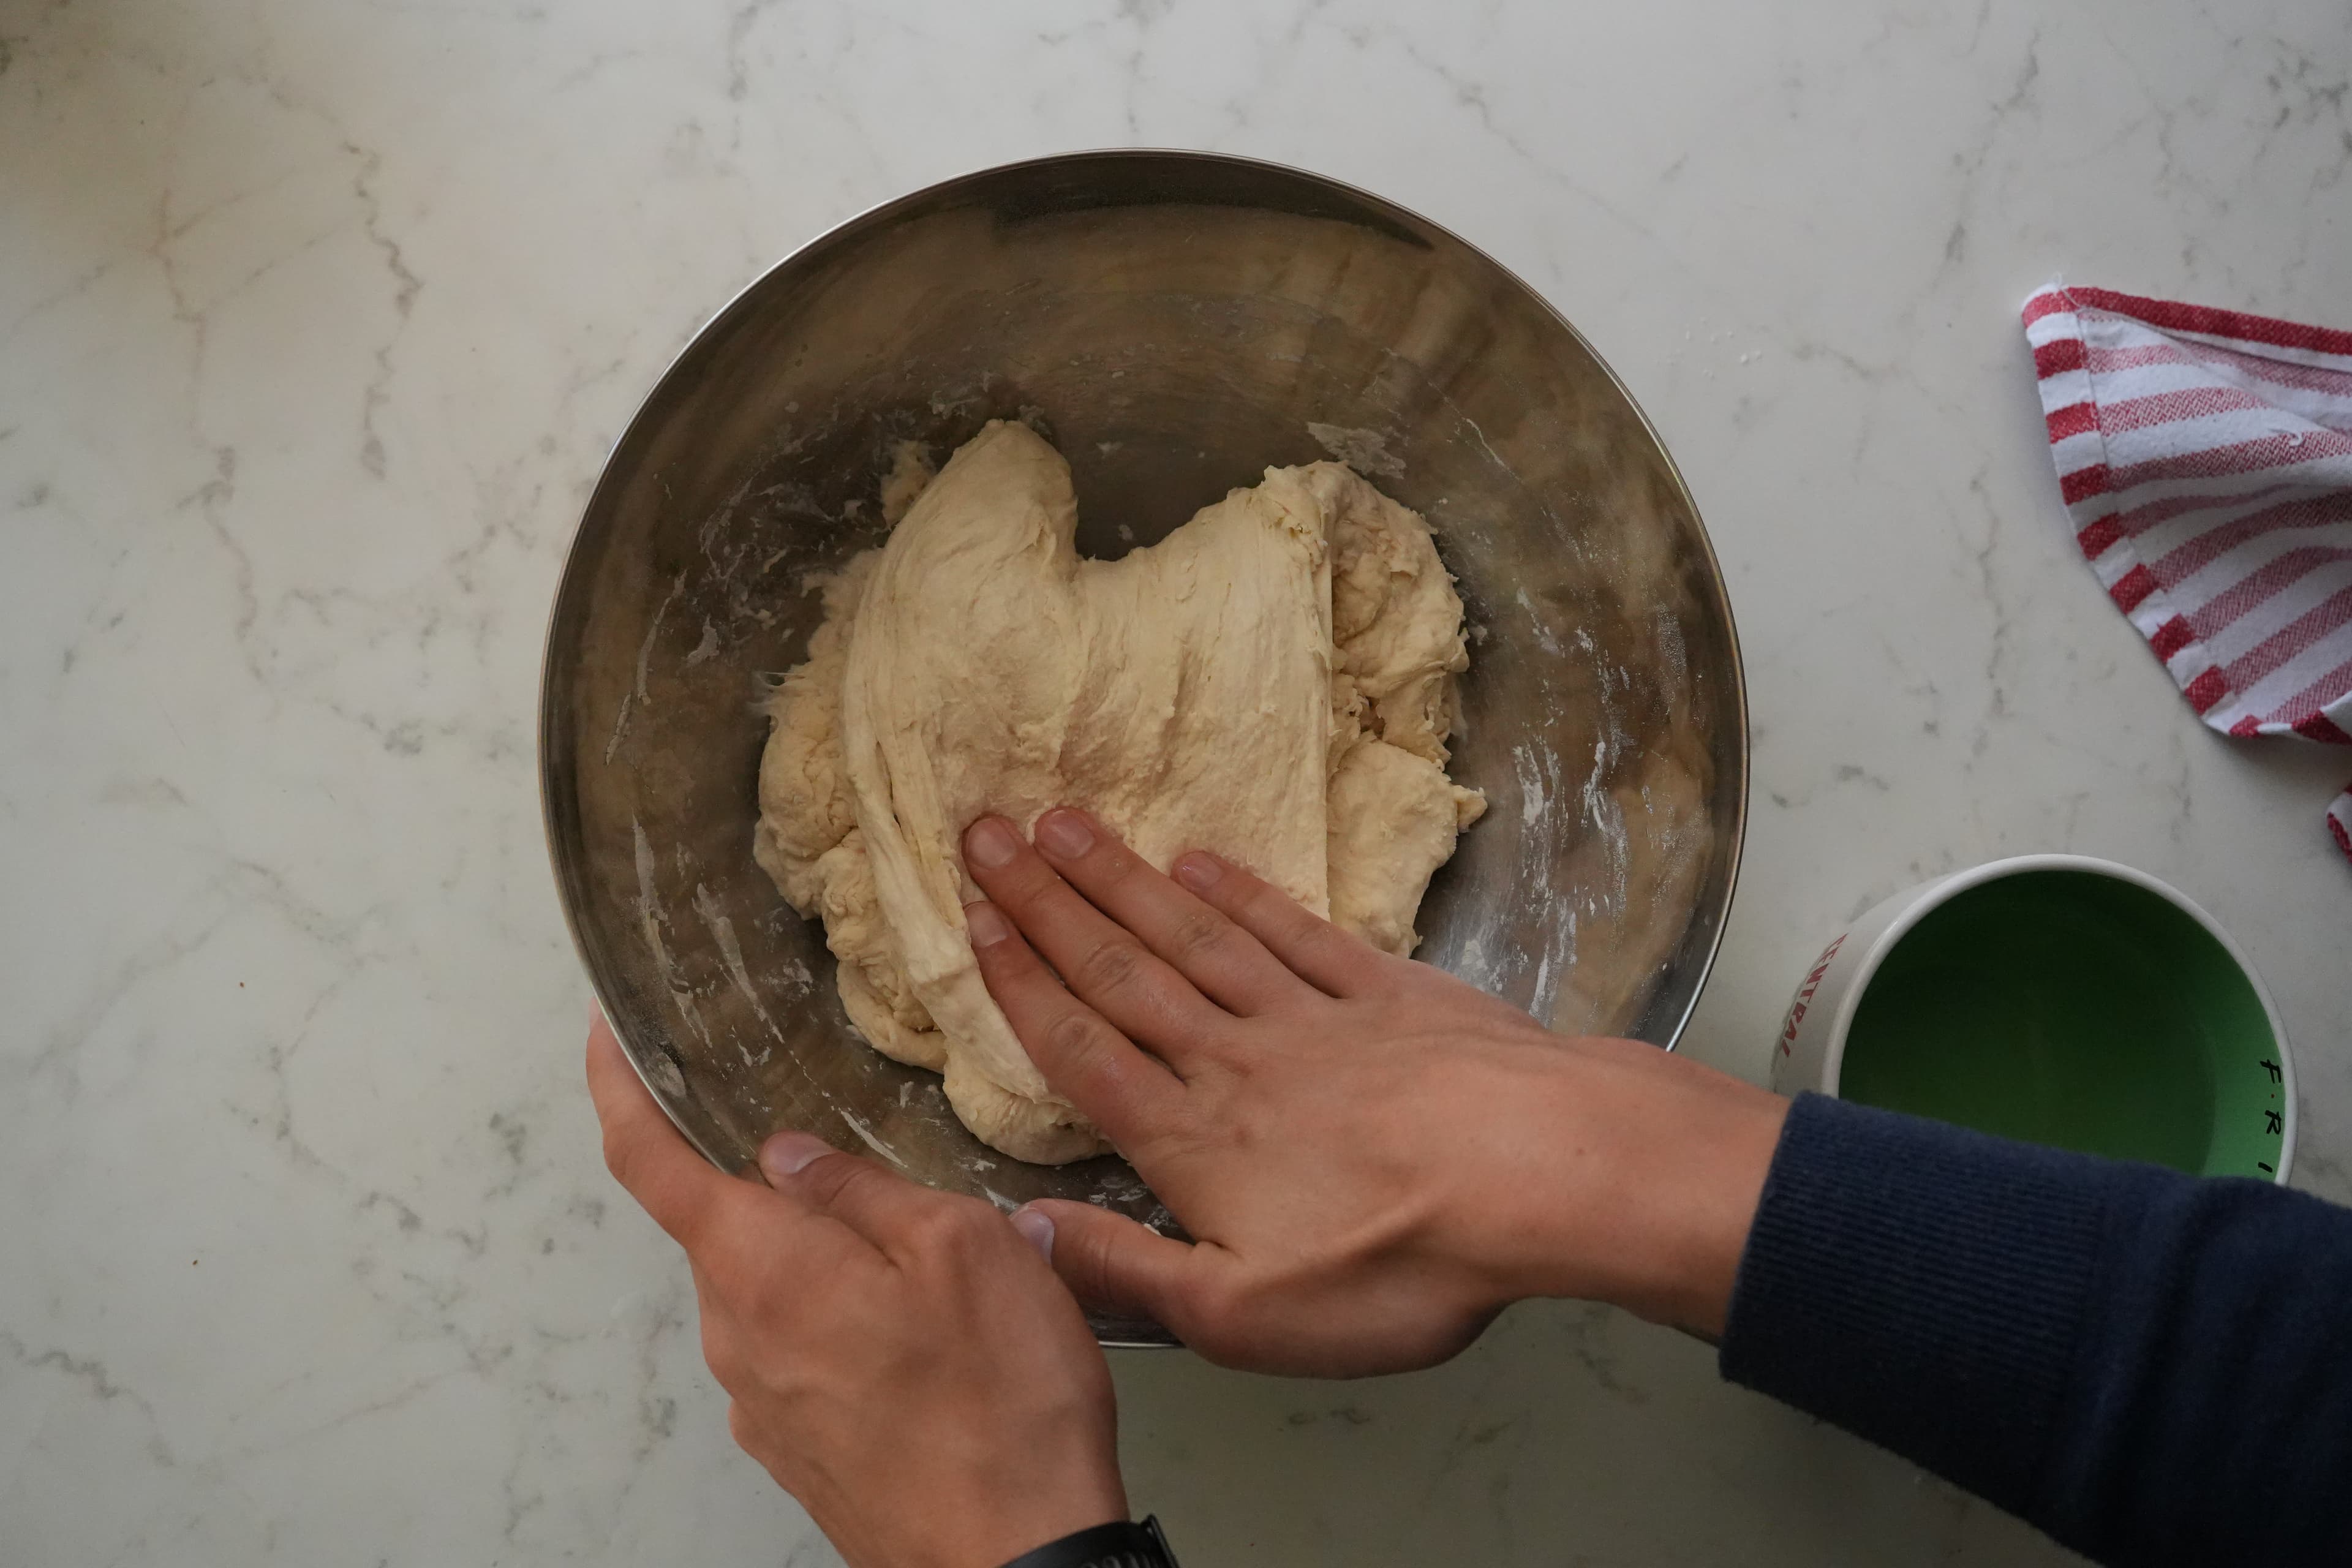
Repeat the lift
Rotate the bowl and repeat the same hand motion on the next side.
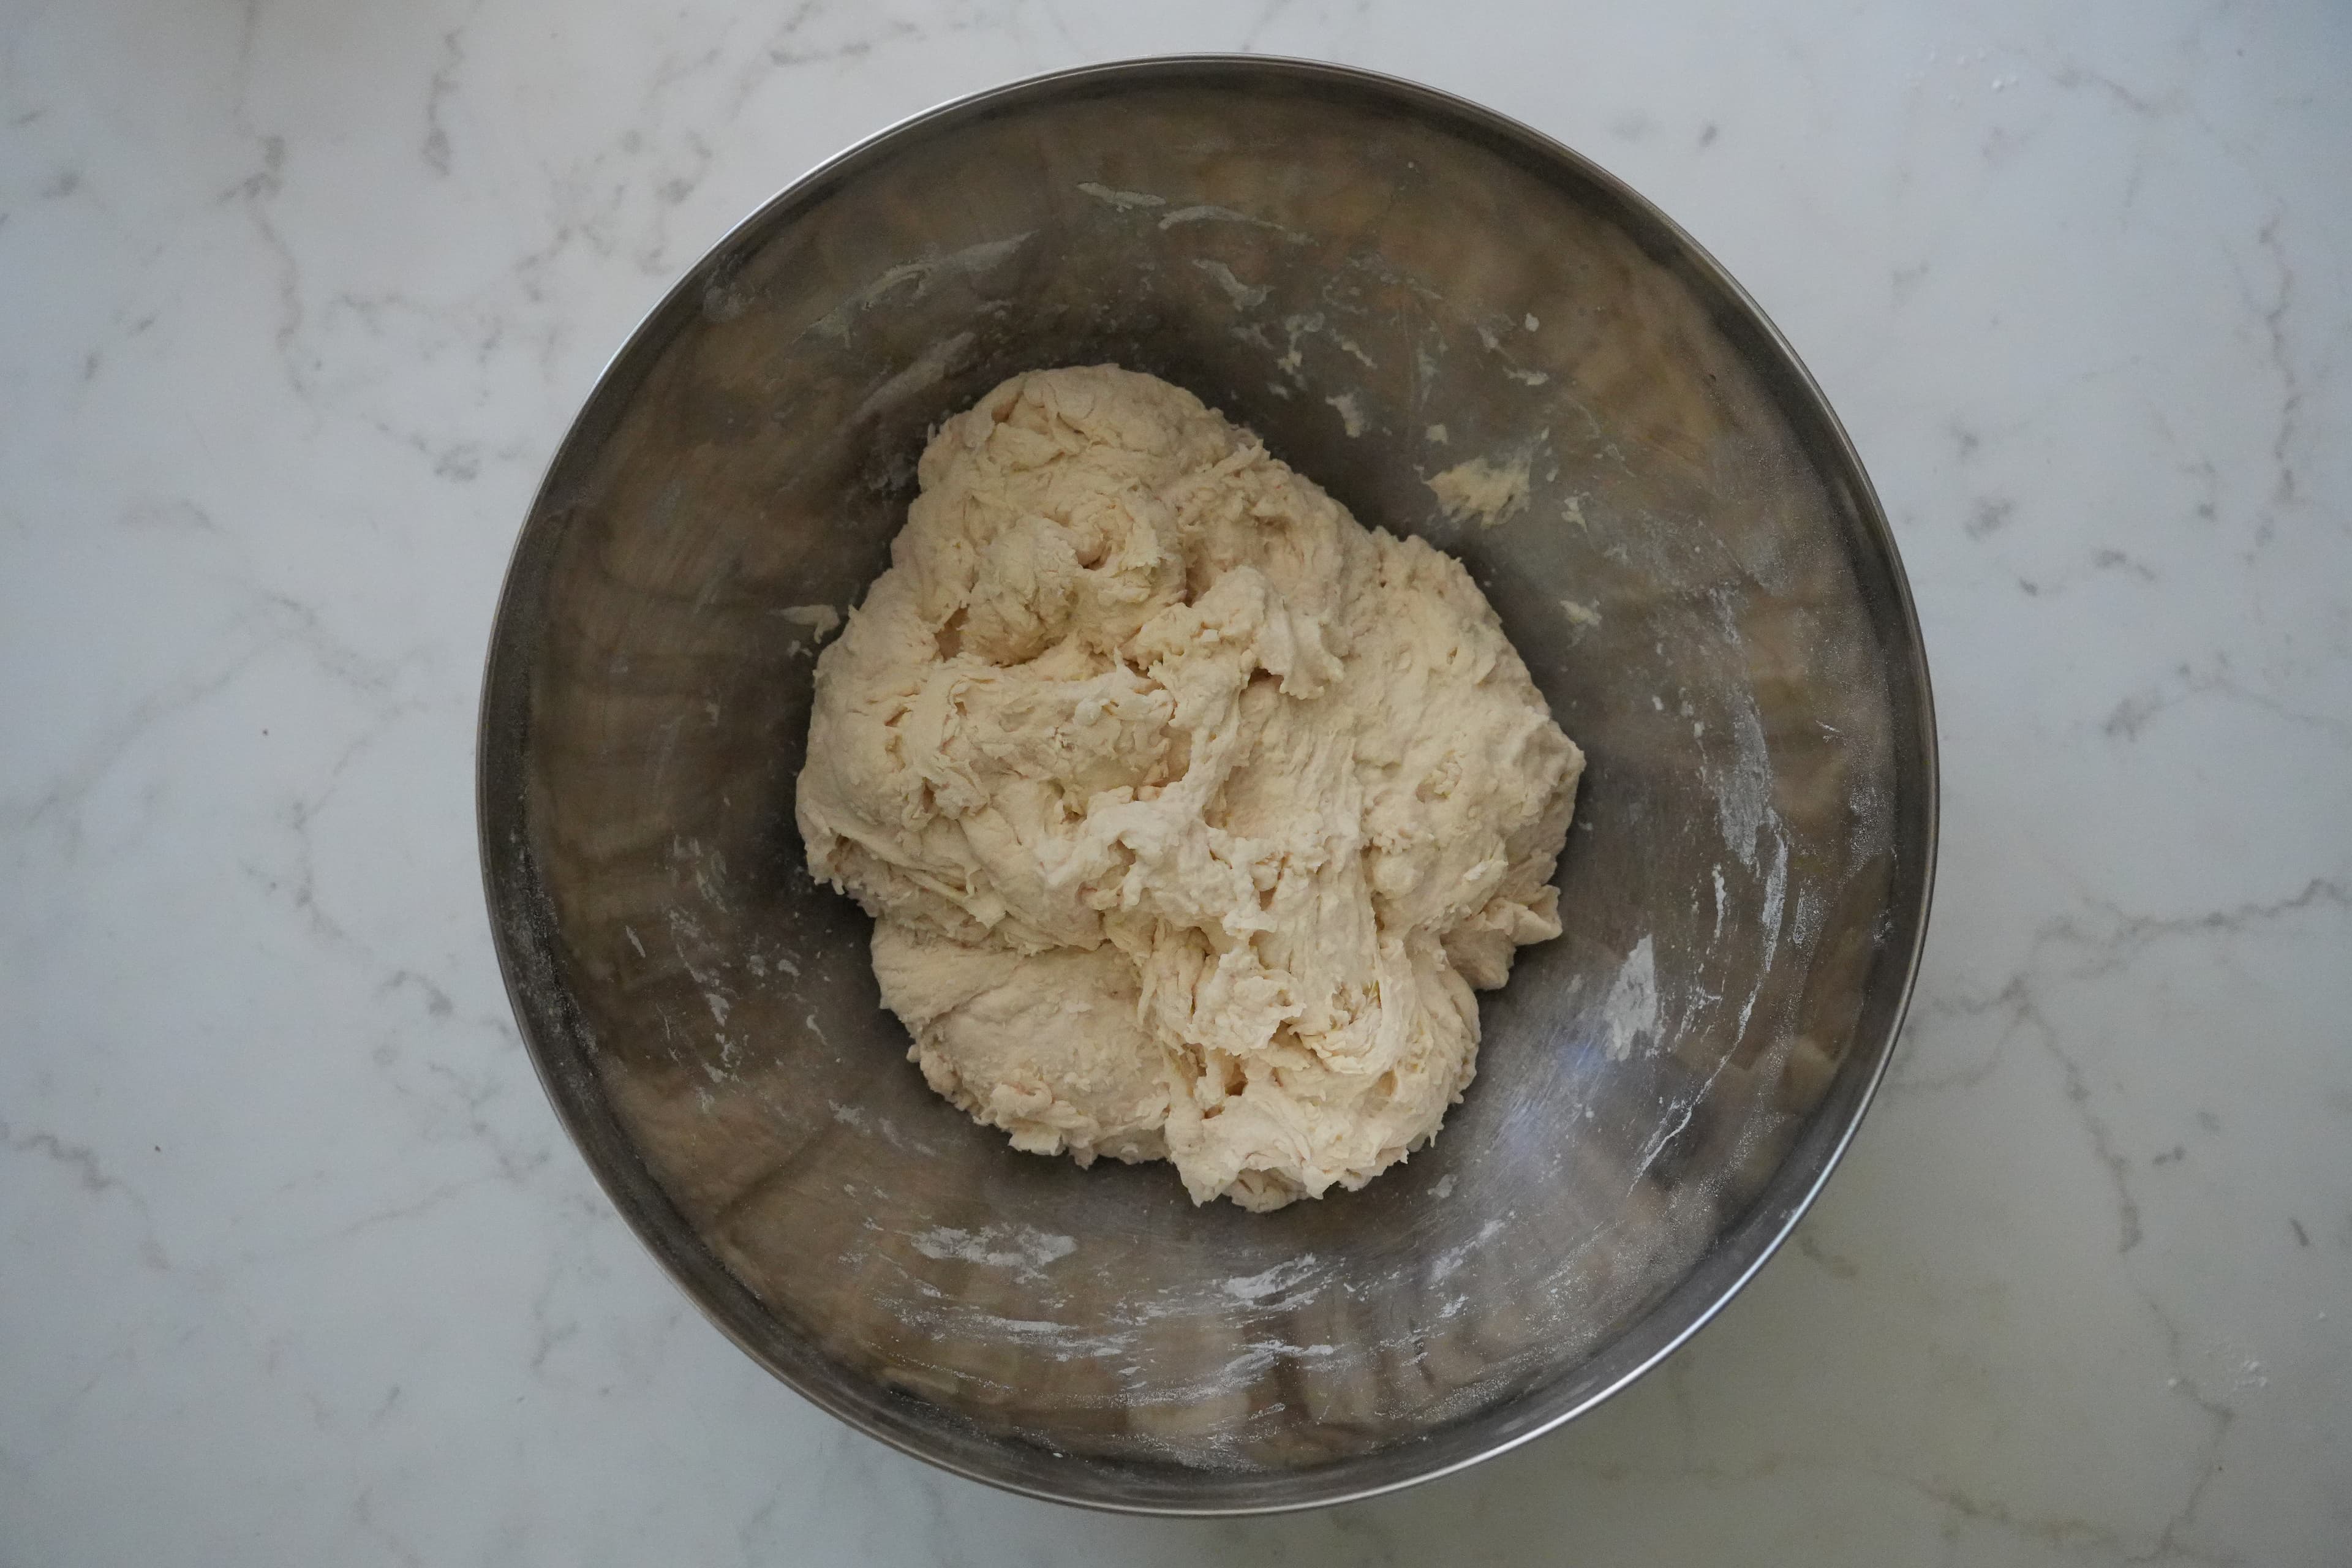
Before folds
The dough looks relaxed and loose before you begin folding.
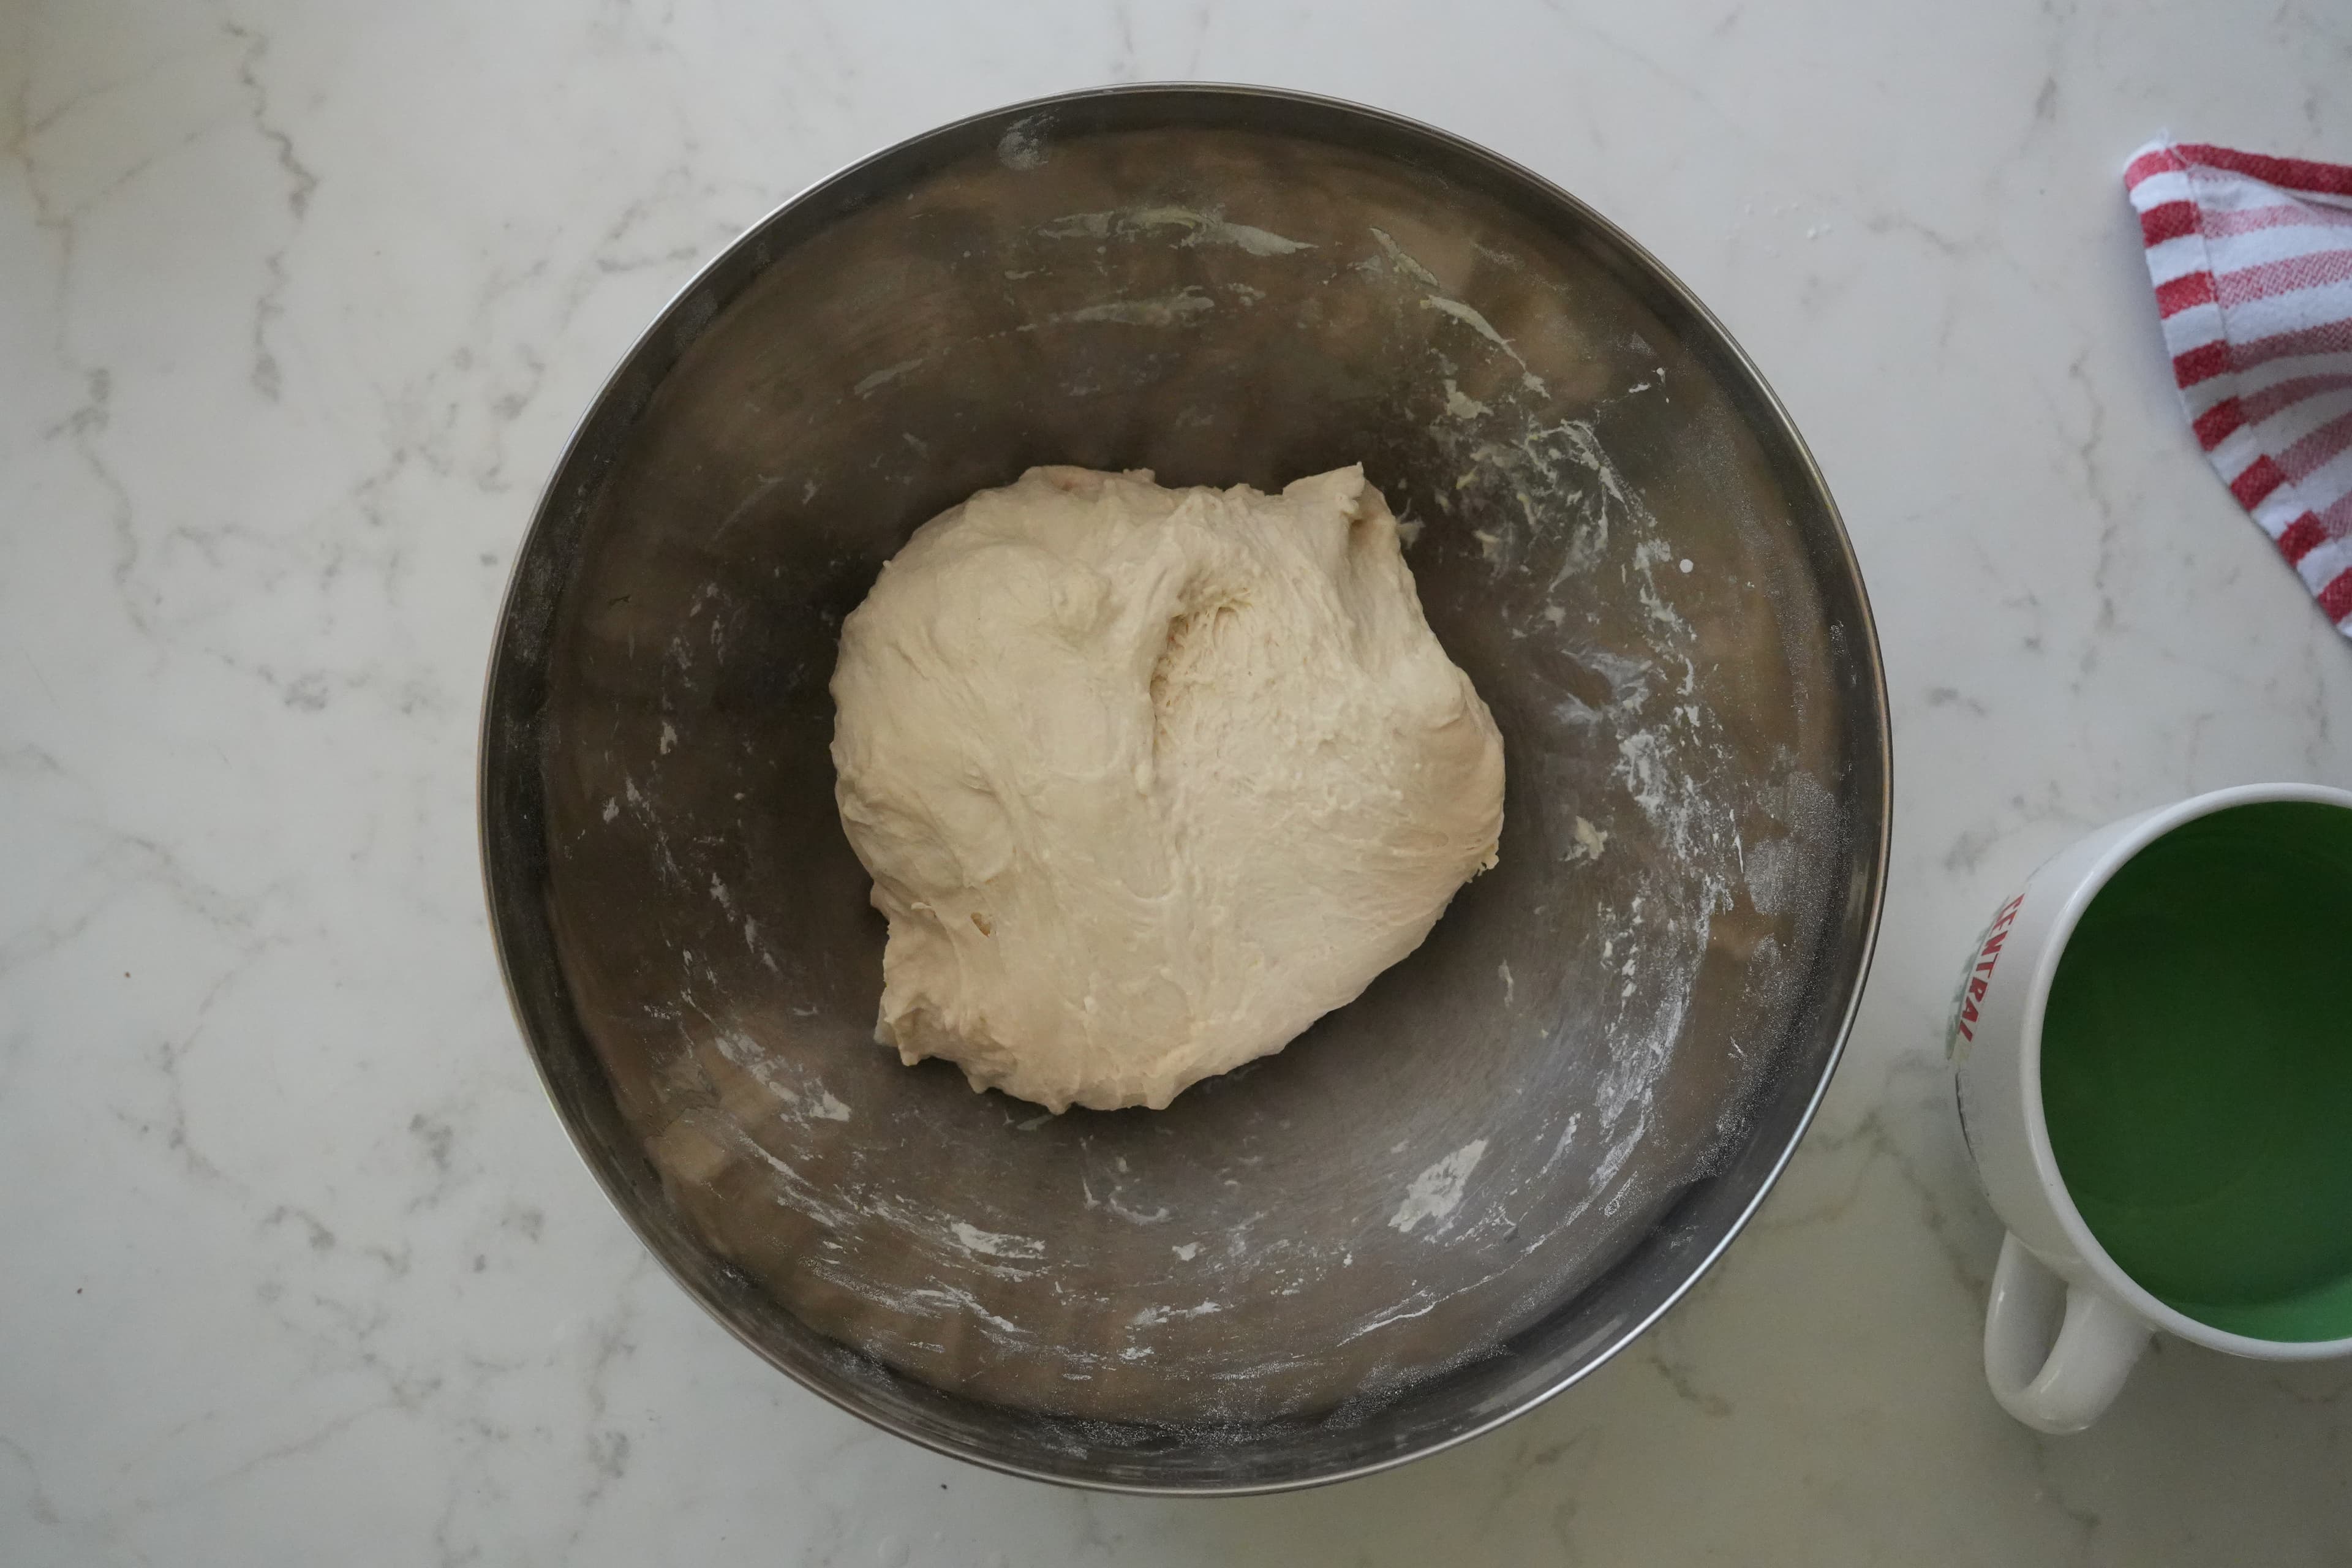
After one round
You should see smoother edges and a more elastic feel.
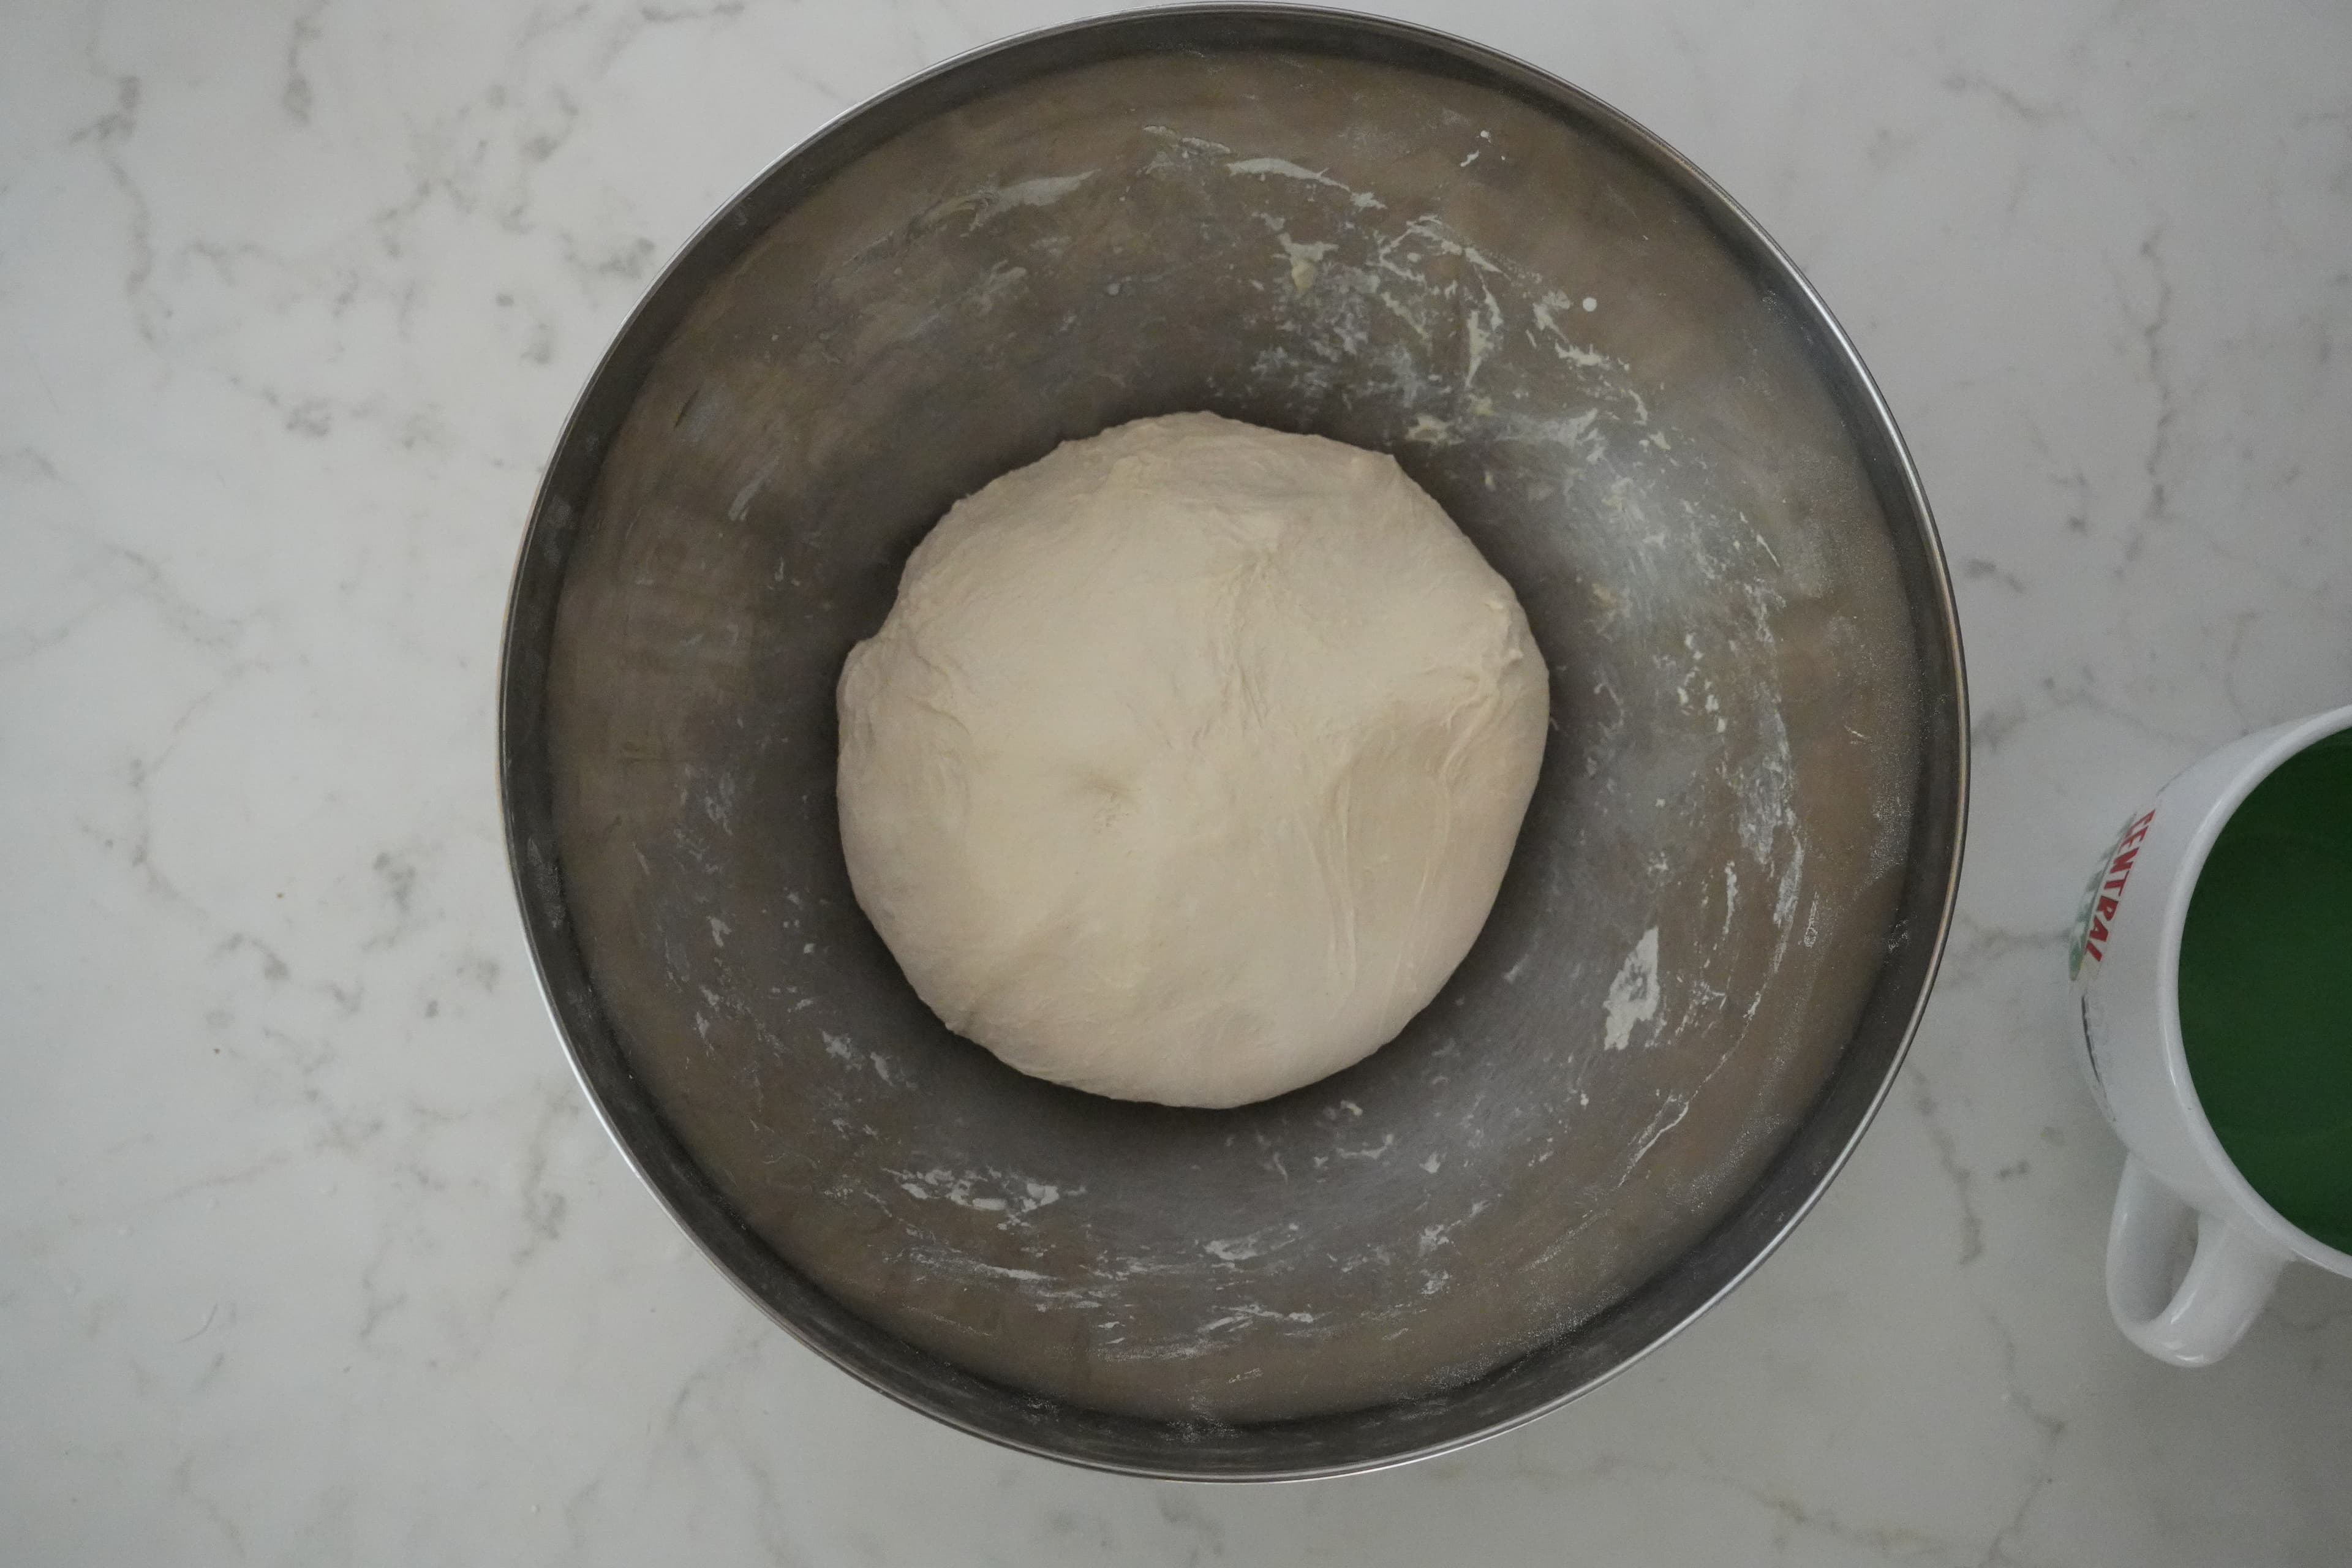
After more folds
Look for a gentle dome and tighter surface after a few rounds.
After a good fold set
The dough should feel tighter, smoother, and more elastic than it did before the set.
If the dough tears
Stop, cover it, and rest it 15 to 20 minutes. Tearing usually means it needs more relaxation, not more force.
When to stop folding
Once the dough feels strong and puffy, stop the scheduled folds and let bulk fermentation continue undisturbed.